The plight of Apple users who end up losing their device’s data mistakenly or accidentally can be clearly seen across different online help forums, with sufferers trying to figure out the easiest possible way to get access to their lost stuff.
Let’s face it, most users do not plan beforehand how they are going to extract years of memories (stored in form of pictures or videos as well as other stuff like contacts) in case they end up misplacing or damaging their iPhone, iPad or iPod.
Those who get stuck into such unfortunate situations look for tools that can help them in data recovery. One such software is iMyFone D-Back.
This tool has a simplified UI, and lets you recover every possible bit of your data in case your data is accidentally erased or your Apple handset is dead, damaged, or lost.
From recovering stuff like contacts, messages, call history, photos, videos, and notes from your device, to fetching data from iTunes and iCloud, it’s all a click away with D-Back. Oh and yes, the tool works in case of third party applications as well, like WhatsApp.
Coming to how iMyFone D-Back simplifies this data restoration process, the application acts as a guide at every single step, acting (or suggesting options) on the basis of user response.
So, let’s discuss iMyFone D-Back’s installation and functioning in detail.
Please note that the tool is available for both Windows and Mac platforms. In this article, however, we’ll only be discussing the installation and functioning of the Windows version.
Installation
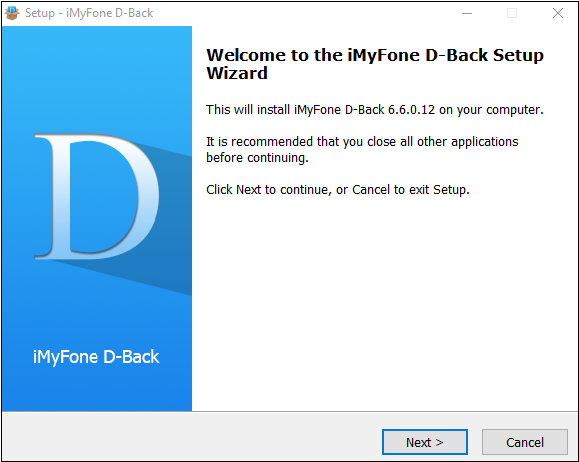
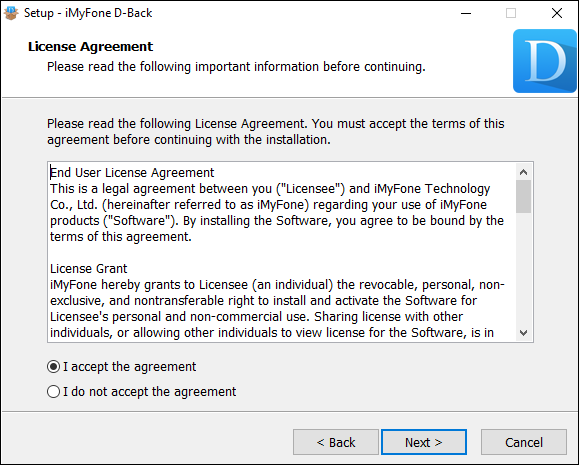
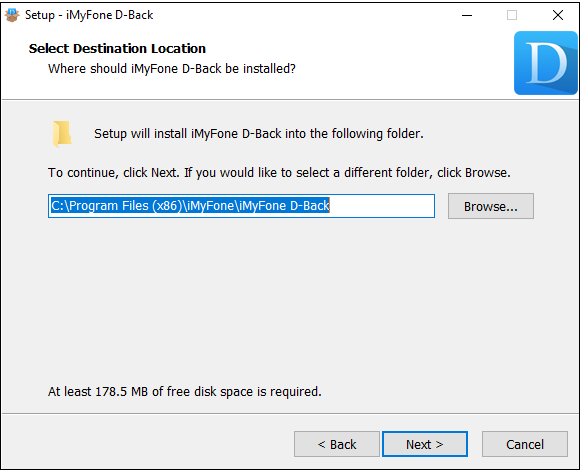
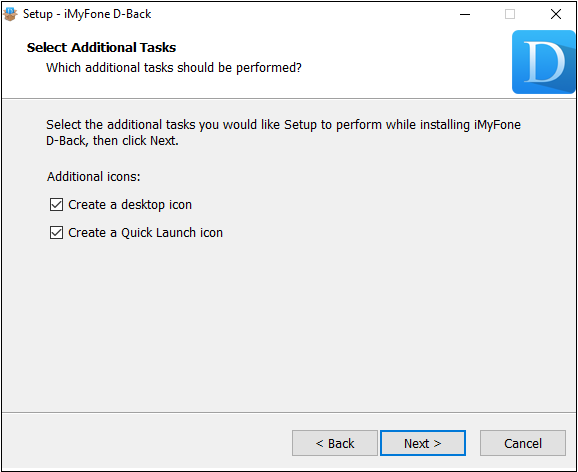
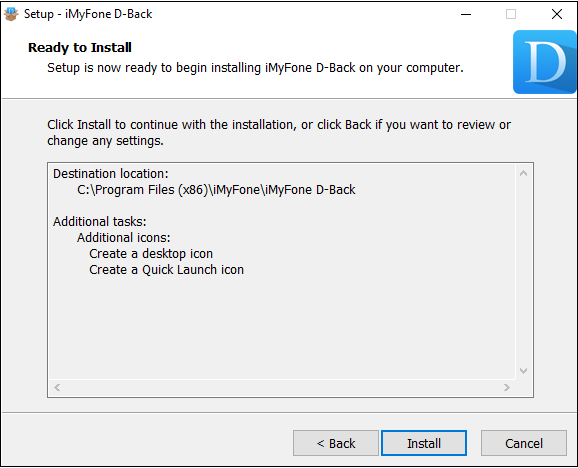
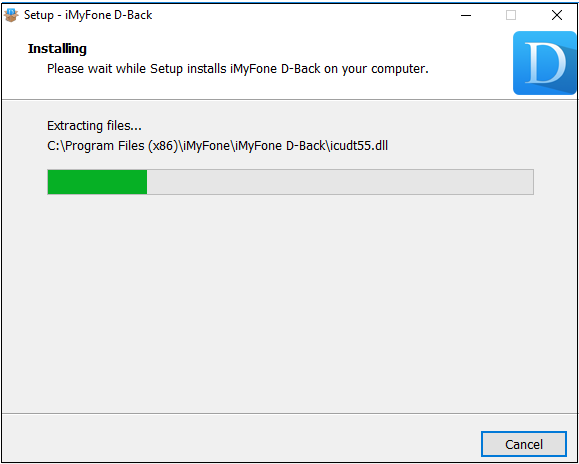
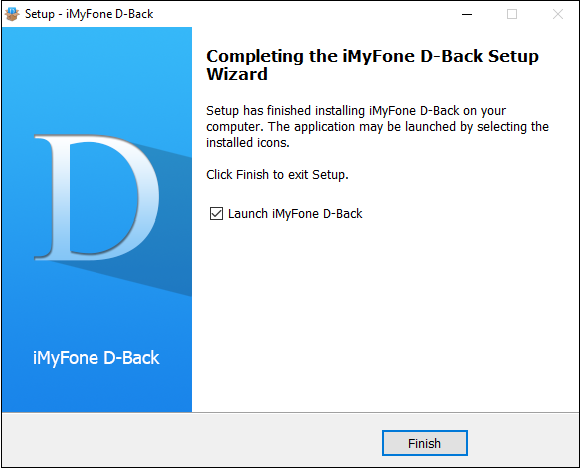
After successfully downloading the software from website, the installation process takes you through a series of screens before you get to access the application.
Both options are enabled by default. You can uncheck them if you don’t want to have any or both shortcut icons.
How to use iMyFone D-Back
After installation, you finally have at hand the application which is going to restore your lost or deleted data, and here’s what it looks like:
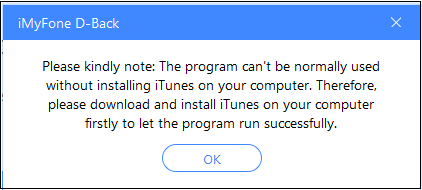
Note: You must have iTunes installed on the system on which you set up iMyFone D-Back. The tool specifically notifies this through a pop-up.
As you can see in the welcoming window, the app offers five recovery modes:
- Smart Recovery
- Recover from iOS Device
- Recover from iTunes Backup
- Recover from iCloud backup
- Fix iOS System
So let’s discuss how each option works.
1. Smart Recovery
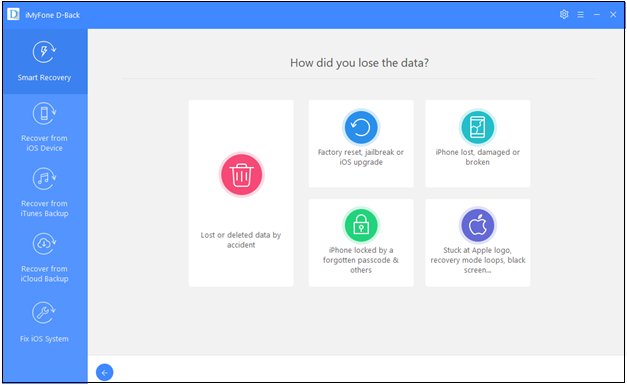
This option is an ideal starting point for users operating iMyFone D-Back for the first time. Clicking on Start, underneath the Don’t Worry! message, takes you to the following inquiry window asking you about how the data was lost.
One has to choose from the given options, which are
-
a) Lost or deleted data by accident
b) Factory reset, jailbreak or iOS upgrade
c) iPhone lost, damaged or broken
d) iPhone locked by a forgotten passcode & others
e) Stuck at Apple logo, recovery mode logos, black screen…
On the basis of your response, the software decides which recovery mode should kick in for your case.
Selecting Lost or deleted data by accident automatically takes you to the Recover from iOS device mode.
On choosing any of the options among b, c, or d, the software considers you’ll need a data recovery from iTunes, and hence the tool suggests the second recovery option i.e. Recover from iTunes Backup.
For users stuck at Apple logo, recovery mode logos, or black screen, Fix iOS System is the suitable recovery mode.
So Smart Recovery, as the name suggests, is the smart chap that knows and suggests how to recover the lost data depending on your cause of data loss.
2. Recover from iOS Device
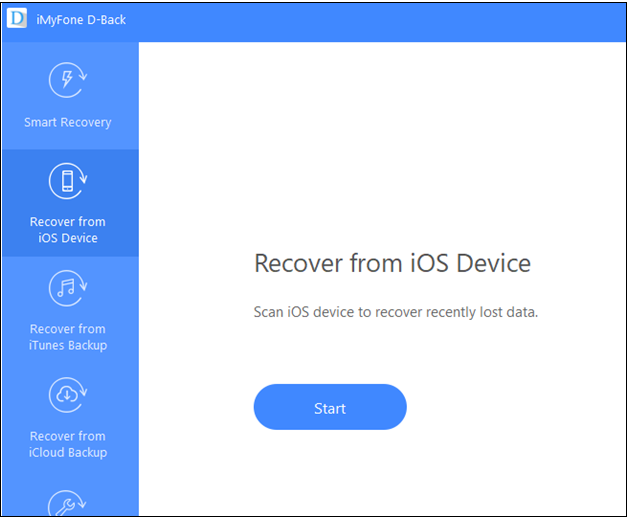
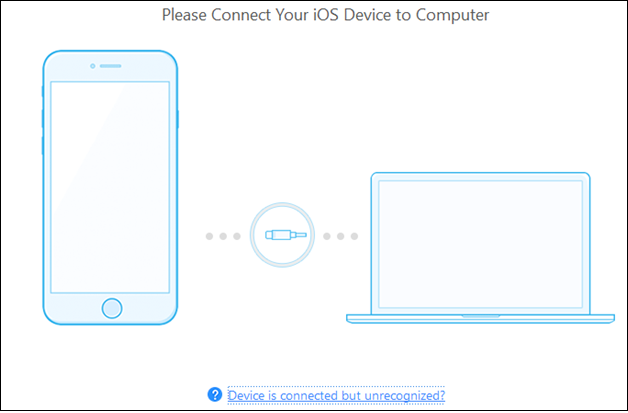
Irrespective of whether Smart Recovery suggests you this mode or you directly choose it, this option right away asks you to connect your iOS device to the system (through a USB cable).
Note: Your iOS device’s USB Accessories settings (under Touch ID & Passcode menu in Settings) must be enabled (if your iOS device is running 11.4.1), else there are chances the software won’t be able to recognize your iOS unit in question.
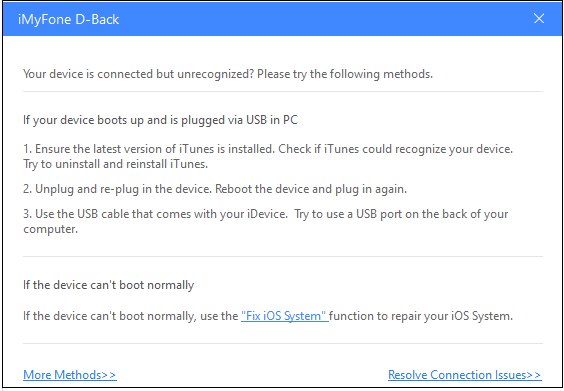
In case your Apple device is somehow not being recognized by iMyFone D-Back, click on the ‘Device is connected but not recognized? ‘ link to get debug instructions.
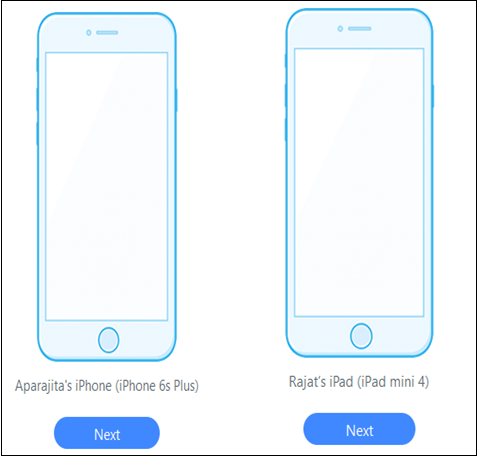
Once connected, here’s what a recognized unit looks like:
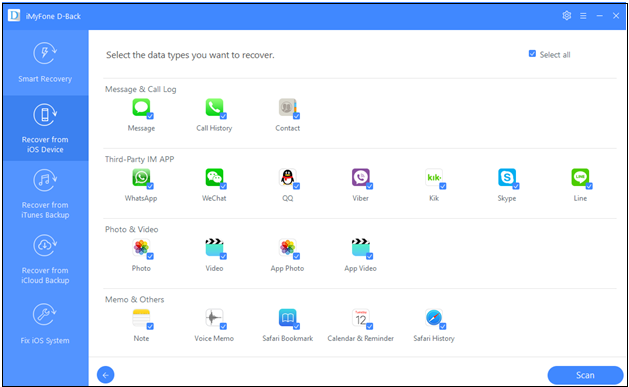
And now comes the actual beauty of this software. Selecting Next takes you to the section where you can define what all you wish to recover.
All data types are checked by default. However, if you want, you can select a specific data type like Message, Call History or any of the third party application like Whatsapp etc.
Select Scan, and let iMyFone D-Back do its job, which shouldn’t take long.
Once the software completes the scanning process, it shows the available data in an organized form in a preview window, from where selecting Recover gives the pop-up to store recovered data at a location of your choice.
Note: The software will by default show all the recoverable data in the preview window, but there are other options as well, like ‘Show only the deleted files’.
And you are sorted. In no time, the software presents you with the information/data you were looking for.
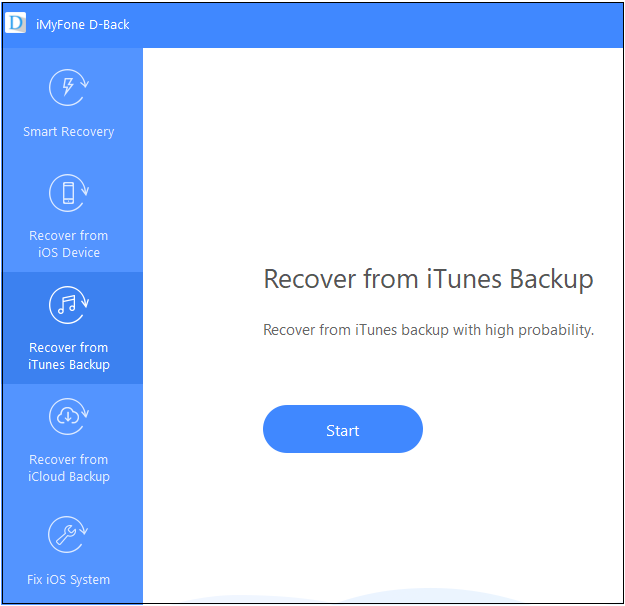
3. Recover from iTunes Backup
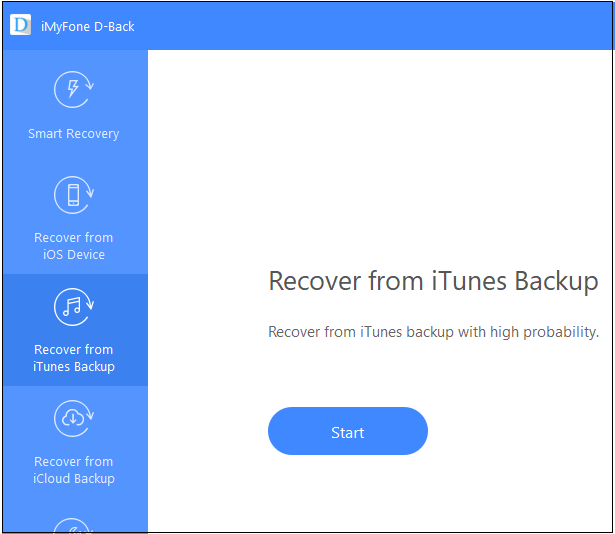
This data restoration option works in case you lose, damage or jailbreak your iOS device, or forget its passcode. This option also works for cases wherein you mess up while upgrading the firmware.
Note: This mode requires you to enter your iTunes encryption password if you have backed up your data on iTunes in an encrypted format.
Choose the iTunes backup (in case of multiple backups) from which you want to recover your data, following which the software will ask you to choose the data type that you wish to recover.
Finally comes the preview window (like the one that showed up for Recover from iOS Device) displaying the scanned data, along with the option to recover available data. Not much effort required.
4. Recover from iCloud Backup
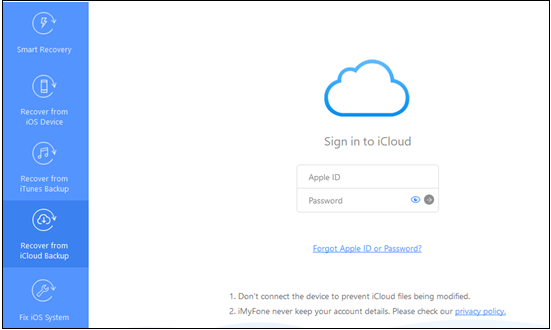
This mode requires you to login to your iCloud account. In fact, that’s the first window which pops-up when you access the mode.
Note: You don’t have to worry about your login details or content as iMyFone never keeps these details.
In case you have enabled two-factor authentication (security measure) for your Apple ID, the following notification asking you to disable the same will pop-up.
Note: Disabling two-factor authentication is a must if you wish to extract data from iCloud, which you can do by heading here.
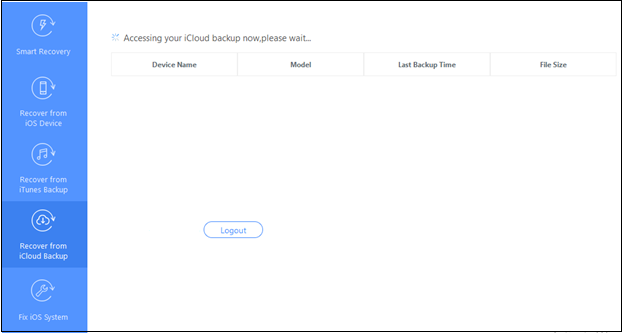
Once you successfully login to your iCloud account, the software will try to access the device’s backup from iCloud.
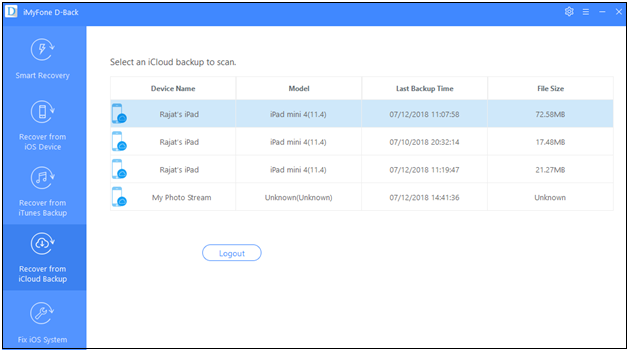
And once it successfully fetches the iCloud backup, a screen similar to the following will show up.
Now you have to select the iCloud backup from which you wish to recover your files, and proceed further.
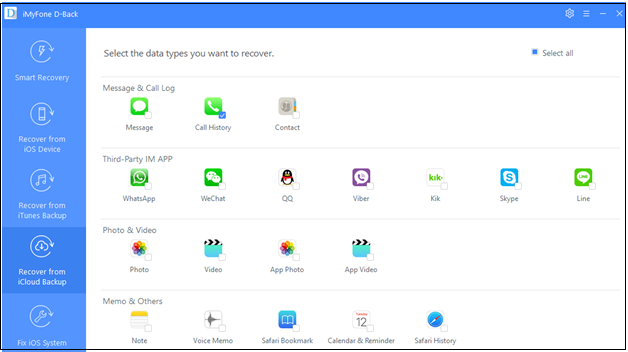
You’ll be greeted by the data type screen again, where you can select the data that you want to recover from your iCloud backup.
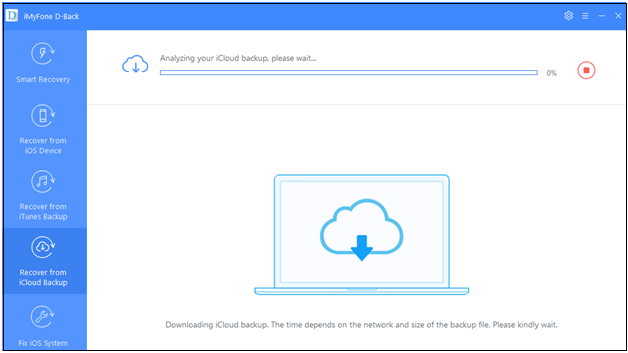
And then iMyFone D-Back will start analyzing the backup to retrieve the information you requested.
Next up will be the preview screen showcasing the scanned/available data, at the bottom of which you’ll get the option to Recover to start the recovery process.
5. Fix iOS System
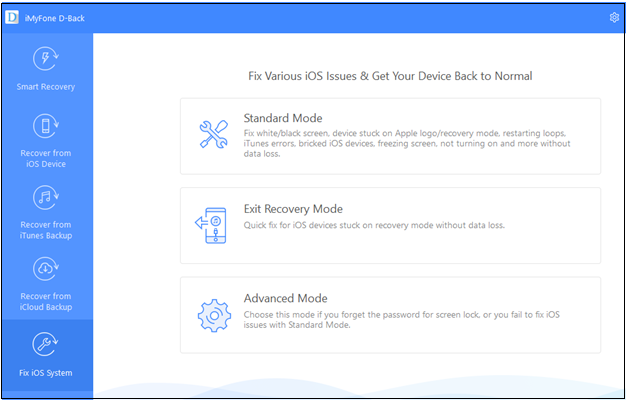
Apart from restoring lost or deleted data, iMyFone D-Back also gives you the facility to fix your iOS system with the help of three options:
- Standard Mode – for issues like device not booting up, bricked, or stuck at a screen
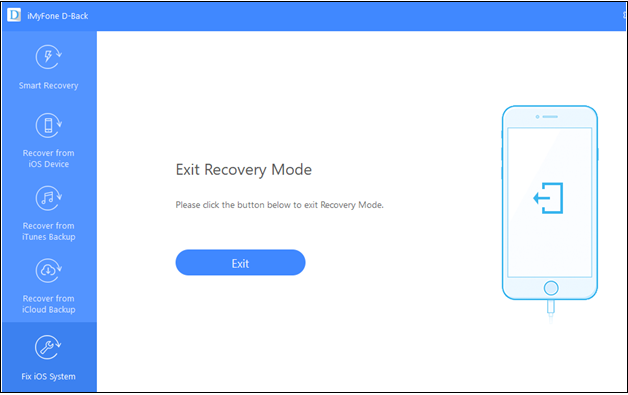
- Exit Recovery Mode – for iOS devices stuck in recovery
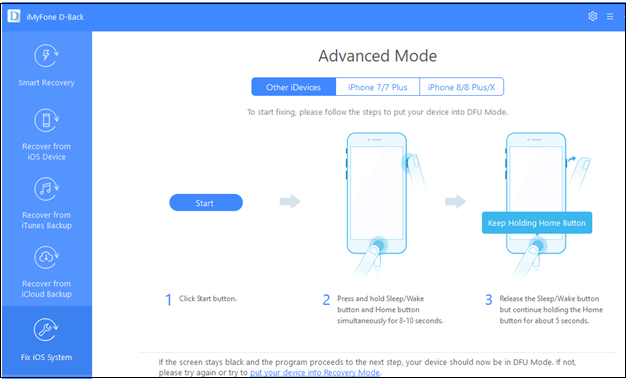
- Advanced Mode – in case you forget lock screen password
NOTE: Fixing iOS system (irrespective of the mode you chose) upgrades your Apple device to the latest iOS; restores a jailbroken unit to what it was by default; and unlocks the locked unit. That’s how the software operates.
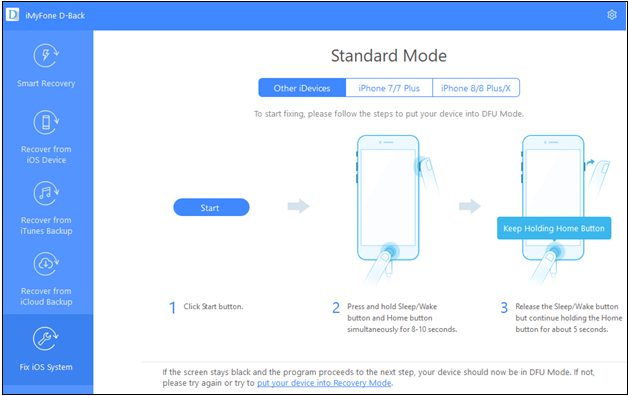
Standard Mode: This mode asks the user to switch their iOS unit to DFU (Device Firmware Update) Mode or Recovery Mode if the former is not possible (by following the simple steps shared in the proceeding DFU/Recovery Mode window).
Downloading the latest iOS version then follows.
Don’t worry, iMyFone D-Back will automatically detect the connected device and the available update (though you can enter the details manually too). All you have to do is click on Download.
Once the latest iOS update installs, you can go ahead fixing the iOS glitches.
Note: In case Standard Mode fails to fix, Advanced Mode is the go to option.
Exit Recovery Mode: In order to exit a device caught up in recovery, all you need to do is select Exit, and you are good to go.
Note: In case the device doesn’t boot up despite finishing the exiting process, you can either try again or go for the Standard mode to exit recovery.
Advanced Mode: This is the final resort, in case the Standard Mode fails to do the trick. The drawbacks here are, iOS will be reinstalled, and all your data will be deleted.
That’s all.
A simple, user friendly, and interactive tool that not only helps you retrieve your lost or deleted iOS data from device, iTunes or iCloud, but also offers fixes for issues like boot loops, device bricking, stuck screen and forgotten passwords.
All in all, a tool worth having in your kitty.
iMyFone D-Back has a trial version (free of cost) through which you can only scan and preview recoverable files. In order to retrieve the data you’ll have to buy its license, which starts at $49.95.
Planning to buy? Here’s a discount coupon code (IMYF-IFEG-DQOK) of 20% for our readers.
Disclaimer: This is a sponsored post, made possible in association with iMyFone Technology Co., Ltd, developer of iMyFone D-Back.

