Have you ever changed screen resolution on your computer? In case you have, you might think why the same option is absent on iOS. Speaking of the other side of the spectrum, some Android phones do have this feature, which potentially reduces the battery consumption.
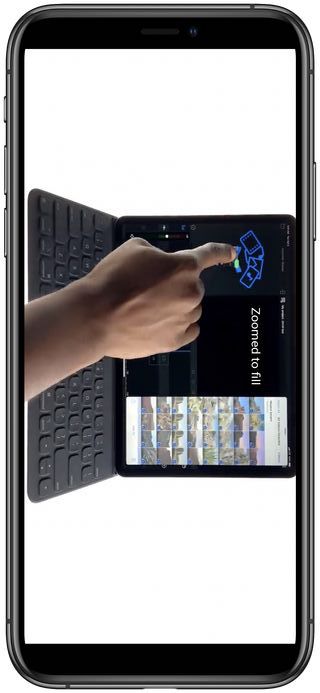
To every concern on pertaining to iPhone/iPad, jailbreak community has an answer. Take Zoom for YouTube for example. It helps the users keep the notch outside the frame in a way not hindering the whole experience.
Similarly, developers already found various jailbreak tweaks to change the screen resolution on iPhones. Owing to the changes Apple made with the hardware and software, not every tweak can function as a universal solution. Have a look at this Reddit thread.
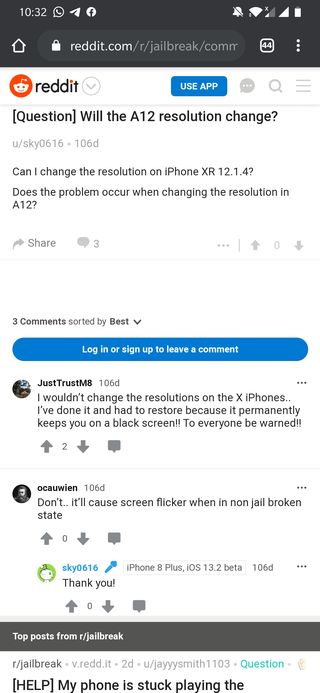
So yeah, having a jailbroken iPhone bears no significance here. And, you get yourself into trouble trying to change the display resolution of all A12 handsets (iPhone X/XS/XS Max/XR). What if there is a way to help you jump this hurdle? Well, A12CustomResFix does exactly the same.
The developer has tested it with iPhone XS on 12.1.1 (beta) and he made it clear that the tweak would work on other iDevices (on iOS 12.x) with A12 chipset as well. Before you proceed to the whole process, you should know that some apps may not work with custom resolutions.
– Create a resolution file with your default resolution. For the developer, this is the file /var/mobile/Library/Preferences/com.apple.iokit.IOMobileGraphicsFamily.plist.setresoriginal.bak which contains the following text (the default res for the iPhone XS):
canvas_height
2436
canvas_width
1125-Make an executable text file with the following content:
#!/bin/bash
iofbres 2688 1242
sleep 3
cp -f /var/mobile/Library/Preferences/com.apple.iokit.IOMobileGraphicsFamily.plist.setresoriginal.bak /var/mobile/Library/Preferences/com.apple.iokit.IOMobileGraphicsFamily.plist
The resolution after ‘iofbres’ is the resolution you want to have (in this case XS Max). The part in the line after ‘sleep 3’ is one single line!
– Execute the file after installing the tweak. This will respring you to your custom resolution and change the file back to the backup one.
Warning
When setting a custom resolution always set it to default once SpringBoard is loaded. Otherwise you can not get into SafeMode and will have to restore in case of a reboot! If the file is set back to default a reboot will reset your resolution! Disabling the tweak in the Preference Pane and respringing will cause a respring loop if on a custom resolution!
(Source)
Once this tweak went live, a user could successfully change the resolution of iPhone X running iOS 13, that too within five steps. Then again, you must know, tinkering with screen resolution is quite risky.
1 – Download Filza & SystemInfo
2 – Download https://github.com/Nukeer9578/iPadStatusBar/releases/tag/1.0 (and install it through Filza)
3 – Create two files (no matter where you create it) : resolution.sh and reset.sh (.sh make it executable)
4 – Write in resolution.sh (and save) :
#!/bin/bash
iofbres 2688 1242
5 – Write in reset.sh (and save) :
#!/bin/bash
iofbres r
To setup the iPhone XS Max resolution, just run resolution.sh. (resolution stays after respring)
To stop using it just run reset.sh.
In case you have any problem, like respring loop, try executing “iofbres r” over SSH. It should reset your resolution.
(Source)
Note:- Stay tuned to our iOS section for similar stories.
PiunikaWeb started as purely an investigative tech journalism website with main focus on ‘breaking’ or ‘exclusive’ news. In no time, our stories got picked up by the likes of Forbes, Foxnews, Gizmodo, TechCrunch, Engadget, The Verge, Macrumors, and many others. Want to know more about us? Head here.

